
Last updated August 25, 2026
Free on-site gate assessment - hinges, posts, and your LiftMaster or Nice gate operator checked before anything is quoted
The assessment is free and the quote is the invoice.

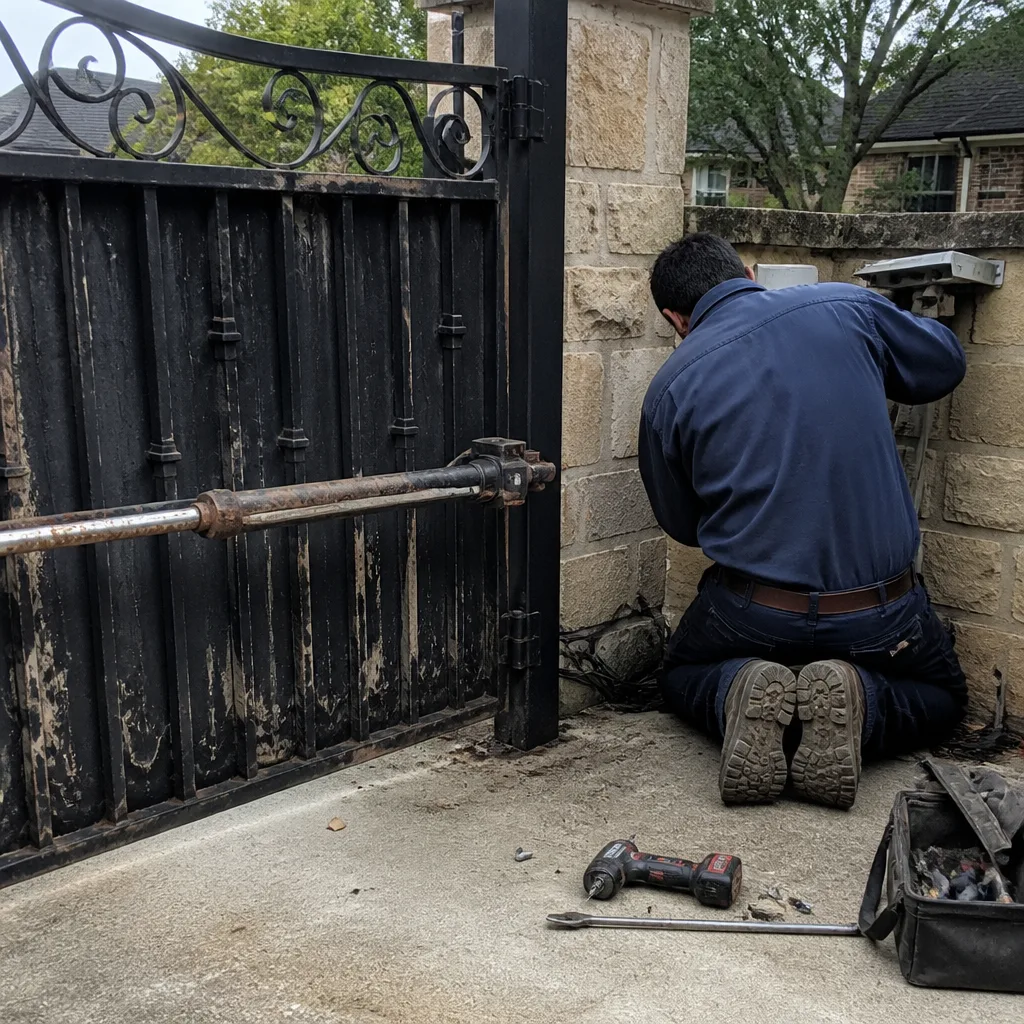 Before
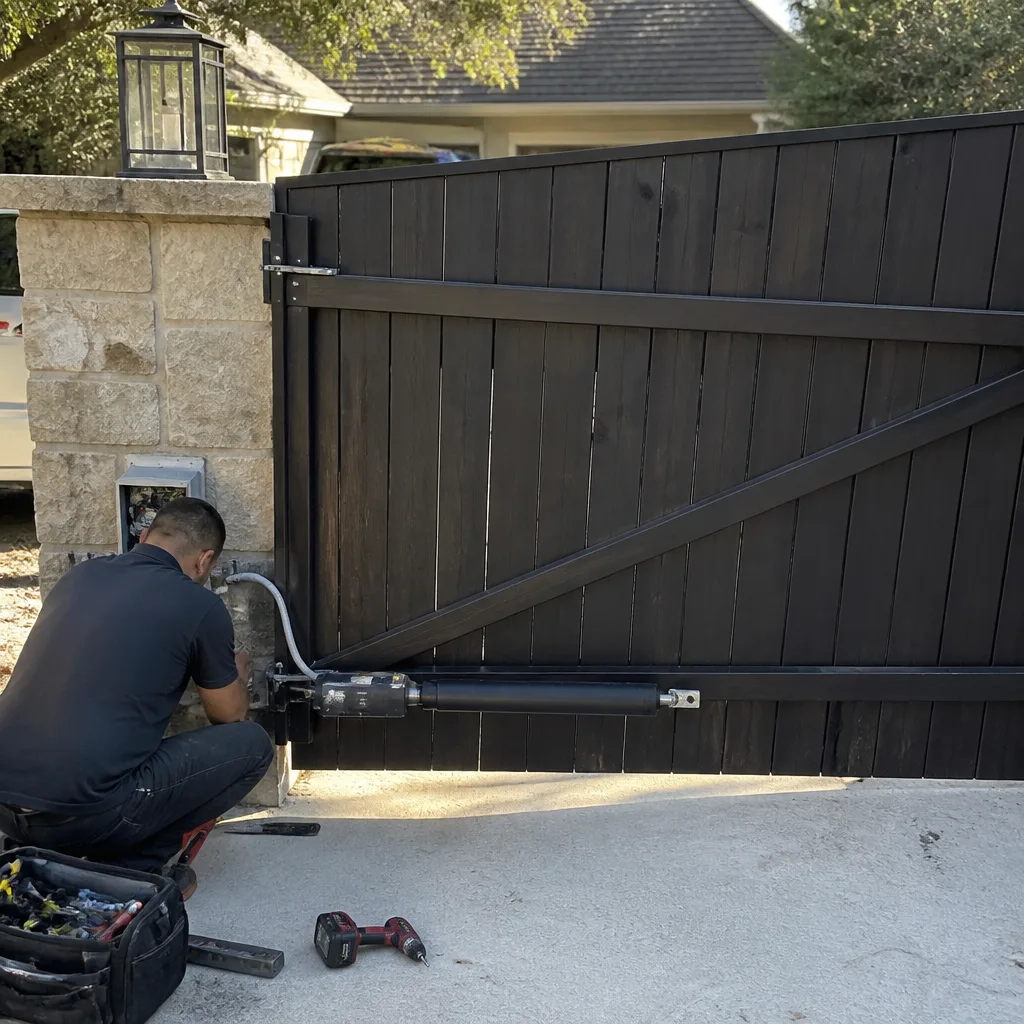 After
After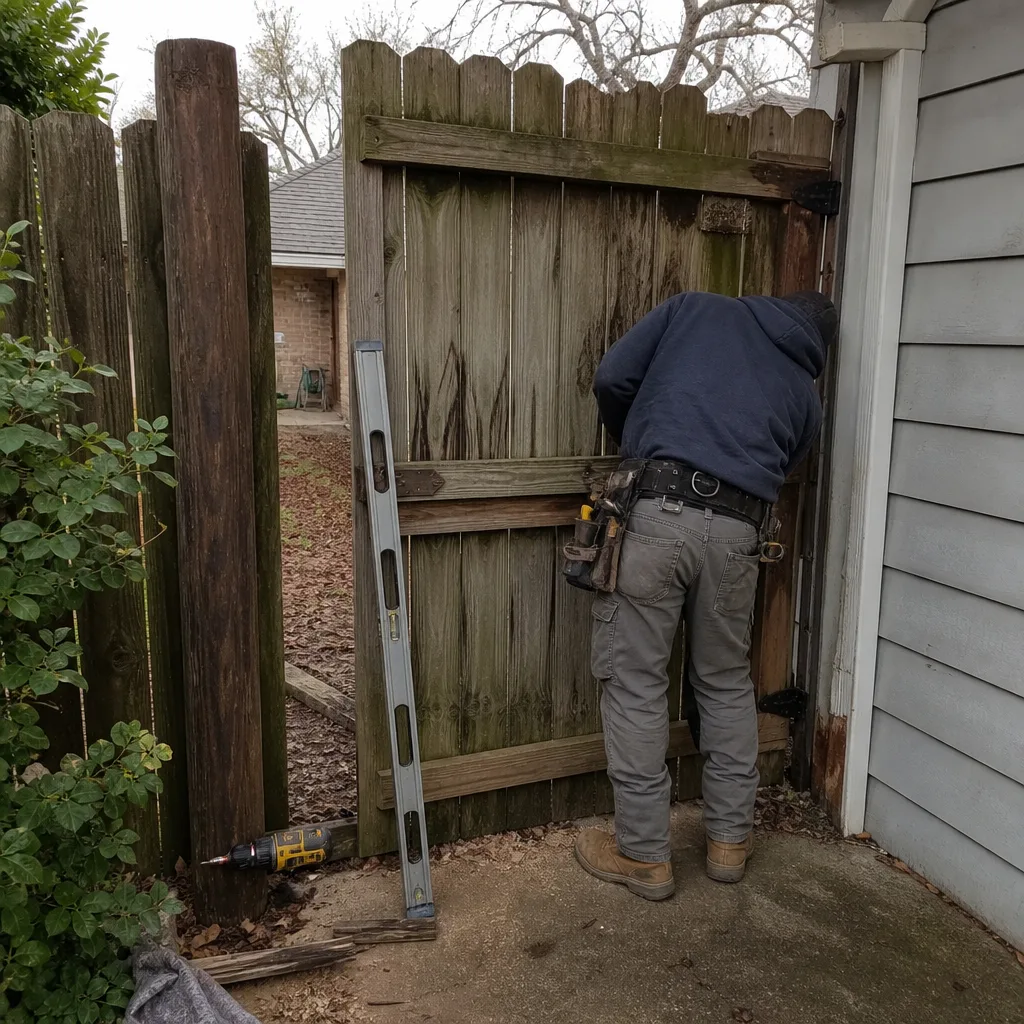 Before
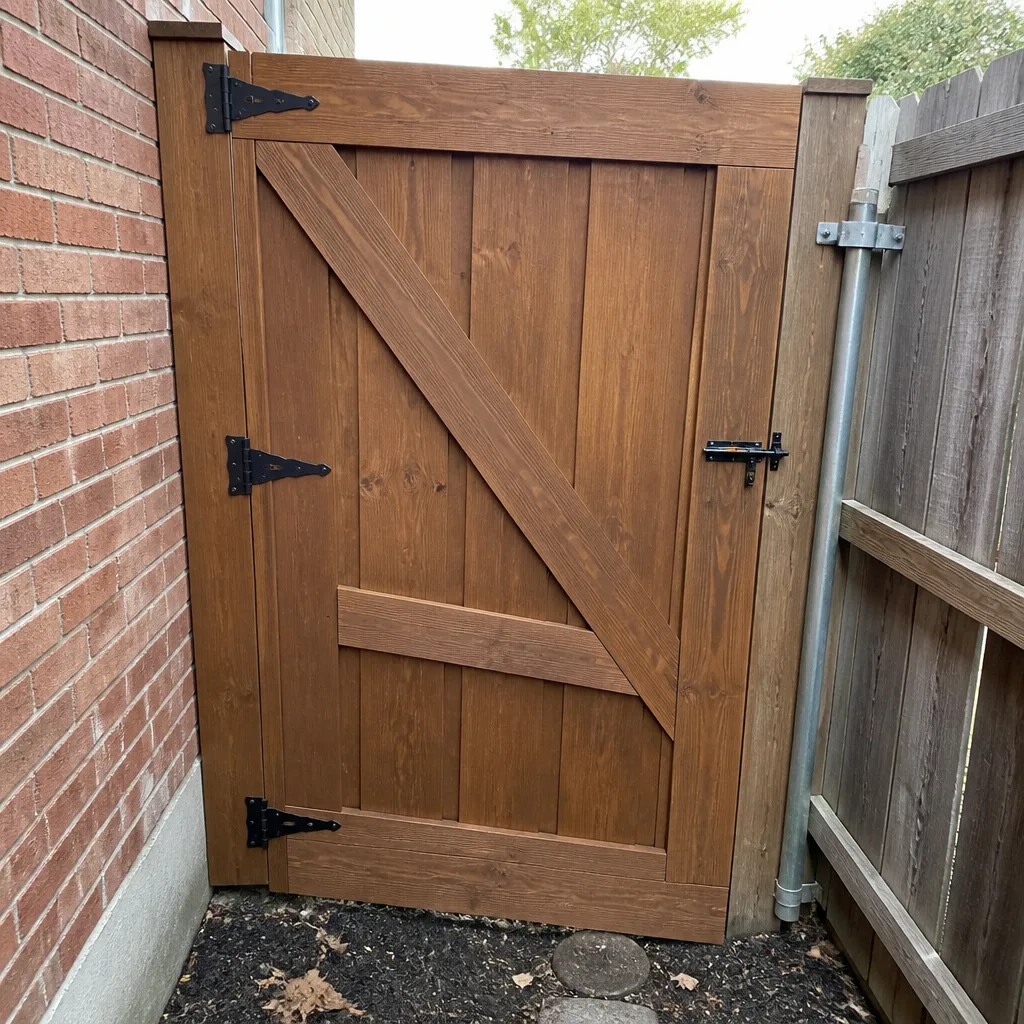 After
After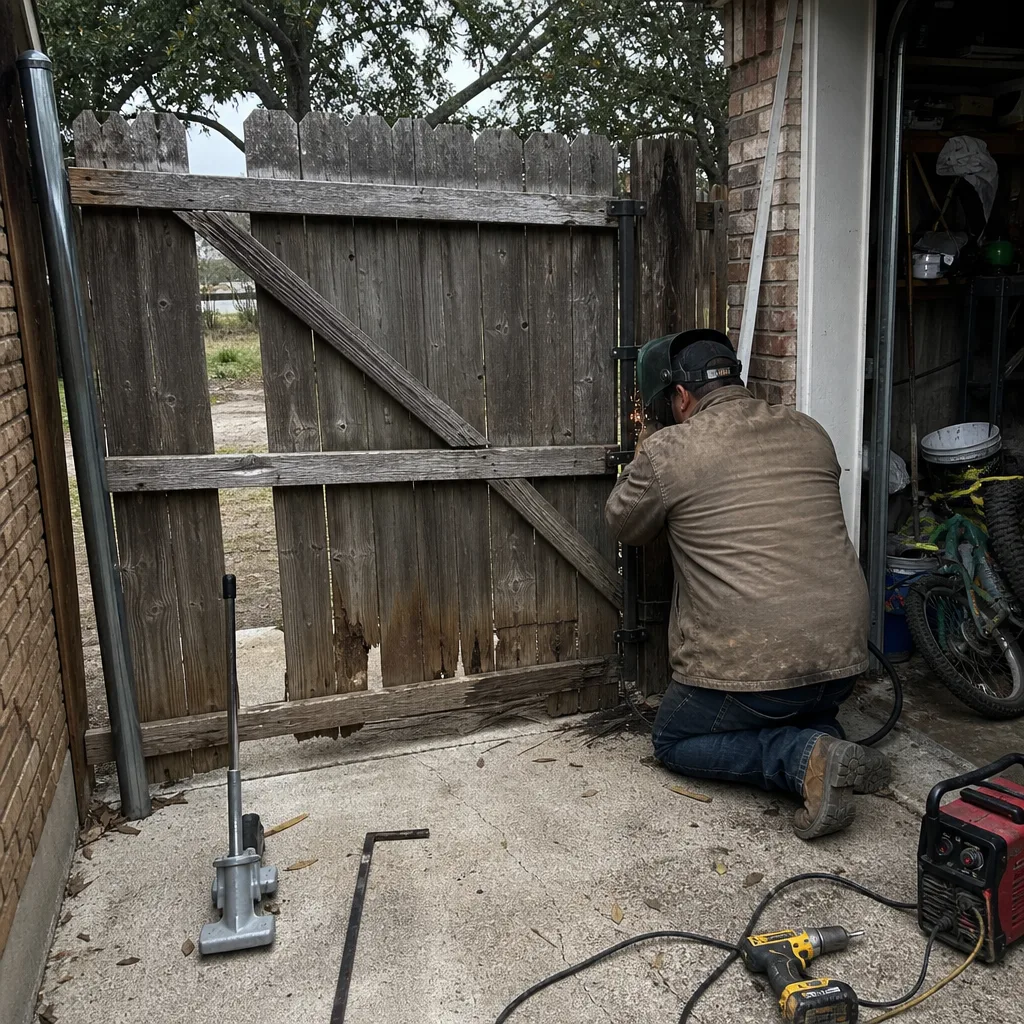 Before
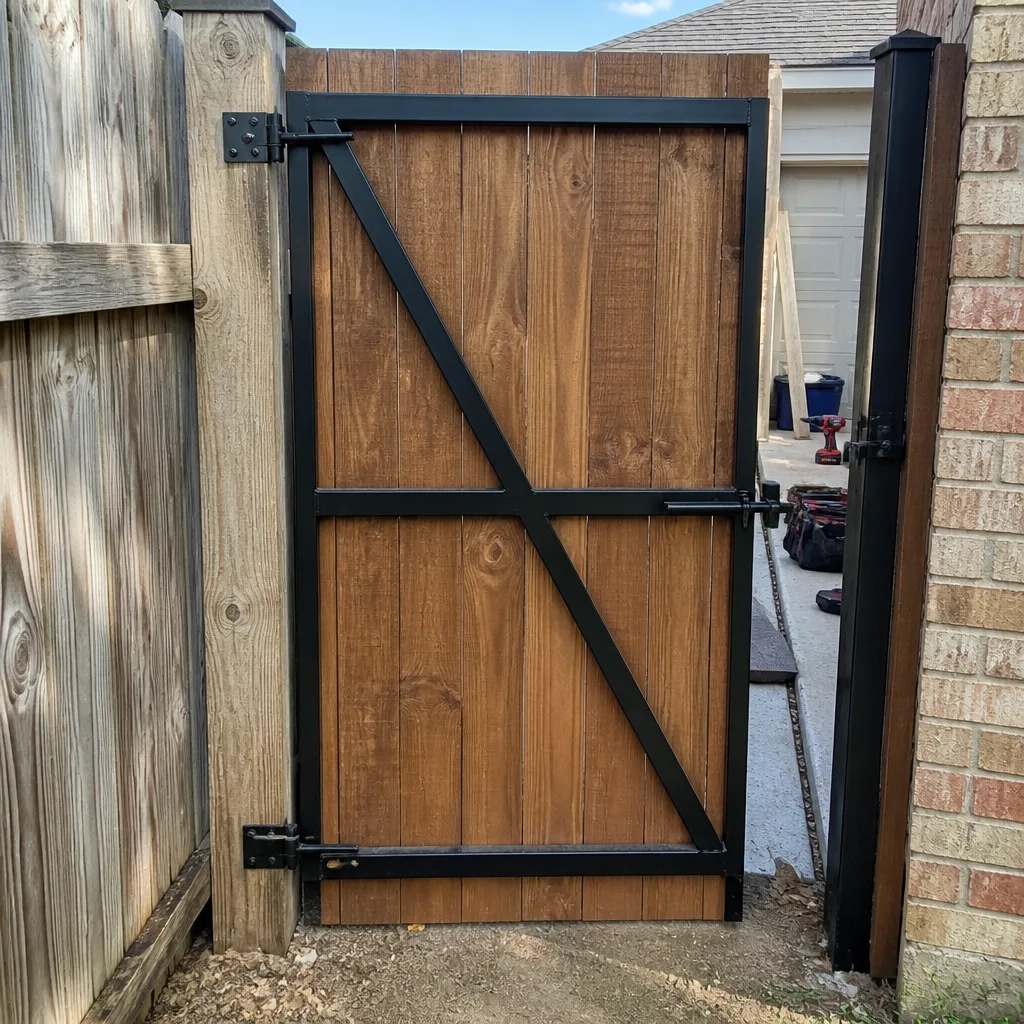 After
AfterGate Repair Maintenance Checklist for Kennedale Homeowners
Most gate failures in Kennedale do not start with the motor. They start with a hinge pin slowly seizing in the Texas heat, a chain losing tension one link at a time, or a mounting bolt loosening with every cycle until the whole frame sags. A gate that grinds open today was whispering for six months before it started complaining. This guide walks through the complete maintenance and repair checklist we use on driveway gates across Kennedale, from the first visual inspection to the final test of the safety edge, so you can catch small problems before they turn into a gate lying flat in the driveway.
Quick Answer
A proper gate repair and maintenance checklist for Kennedale covers six areas: the physical frame and welds, hinges and pivot points, the gate opener and motor, electrical connections and battery backup, safety devices like photo eyes and edges, and the ground track or support wheels. Work through this list twice a year, once in late spring before the summer heat hits and once in early fall, and you will prevent most of the repairs we see from turning into emergency calls.
Table of Contents
- Why Kennedale’s Climate Punishes Gates Differently
- The 10-Minute Visual Inspection Every Homeowner Should Do
- Hinges, Pivot Points, and Frame Alignment
- Opener and Motor Maintenance by Brand
- Electrical Connections, Underground Wiring, and Battery Backup
- Photo Eyes, Safety Edges, and Obstruction Detection
- Ground Track, Wheels, and the Concrete Apron
- A Seasonal Tune-Up Checklist for Kennedale Gates
- Common Mistakes to Avoid
- When to Call a Professional
- Frequently Asked Questions
- The Bottom Line
Why Kennedale’s Climate Punishes Gates Differently
Kennedale sits in a part of North Texas where the weather does not ease into anything. Summer temperatures routinely push past 100 degrees for weeks at a time. The soil under a driveway gate expands and contracts through wet-dry cycles that shift gate posts a fraction of an inch each season. That fraction matters. A gate that clears its latch by half an inch in March may drag by August.
We see three climate-specific patterns in Kennedale more than anywhere else we work:
- Powder coat breakdown on south-facing gates. The UV load on the southern exposure breaks down gate finishes faster than homeowners expect. Once the coating fails, rust follows within a season or two.
- Expansive clay soil shifting posts. Kennedale’s soil moves. A gate post set in concrete can still drift enough to throw off the latch alignment, and when the gate fights the latch, the opener burns itself out trying to force it.
- Summer heat baking capacitor and control board components. Control boards mounted inside metal operator housings sit in direct sun and can reach internal temperatures well above the rated limit. Capacitors bulge, solder joints crack, and the board fails without warning.
The good news is that all three problems announce themselves before failing completely. The checklist that follows tells you what to look for and what each symptom means.
The 10-Minute Visual Inspection Every Homeowner Should Do
Start here. This is the first five minutes of any service call we run in Kennedale, and it tells us more than any diagnostic tool. Stand at the gate with the opener disengaged, if you have a manual release, and move the gate by hand through its full travel. It should move smoothly with even resistance. If it does not, something is binding, and no amount of opener adjustment will fix it.
Work through this list in order:
- Check the gate’s resting position. With the gate fully closed, look at the gaps along the top and bottom. The gap should be even from hinge side to latch side. An uneven gap means sag, which means hinge wear or post movement.
- Look at the weld points on the gate frame. Hairline cracks in welds start small and spread. Paint flaking off a weld line is the first visible sign of a crack underneath.
- Listen while the gate moves. A squeak is a dry bearing or hinge. A grind is metal on metal somewhere. A rhythmic knock is a bent wheel or a chain hitting a guard.
- Watch the gate wheels, if you have a rolling gate. Wheels should roll, not slide. A wheel that has stopped spinning is wearing a flat spot into its tread and chewing up the track.
- Inspect the opener mounting bolts. Grab the opener arm and try to wiggle it. Movement at the mounting point means bolts are backing out, and the vibration will only make it worse.
Do this inspection quarterly. It takes ten minutes, and it catches the small problems that become $800 repairs.
Hinges, Pivot Points, and Frame Alignment
Hinges carry the entire weight of the gate every day, and in Kennedale they also carry the rust load. This checklist section covers the components we replace most often across the city, from the older steel swing gates near Kennedale’s original homes to the heavier iron driveway gates on the newer acreage properties.
The Hinge and Pivot Maintenance Routine
Do this twice a year, in May and October. Here is the step-by-step:
- Lubricate every hinge pin and pivot point. Use a penetrating lubricant first to break up old grease and rust, then follow with a heavy-duty lithium grease. Wipe away excess so it does not collect dust.
- Check hinge pin wear. Lift the gate slightly from the latch end with both hands. If you feel vertical play at the hinge, the pin or bushing is worn and the gate will sag further with time.
- Inspect hinge welds. Look for rust staining running down from the weld joint. Rust streaks are a sign of moisture working into a micro-crack.
- Verify the gate posts have not moved. Use a level against both posts. A post that has drifted even two degrees changes the hinge geometry and forces the gate to carry weight unevenly across the hinges.
- Check the cantilever roller spacing if you have a slide gate. The rollers should make consistent contact. Gaps mean a roller has worn or a bracket has shifted.
When we rebuild a sagging gate in Kennedale, the cause is almost always one of two things: a homeowner put off hinge replacement for a season too long, or the original install used hinges rated for a lighter gate. If your gate is over 10 years old and has never had hinge work, schedule an inspection before the hinge fails completely.
Opener and Motor Maintenance by Brand
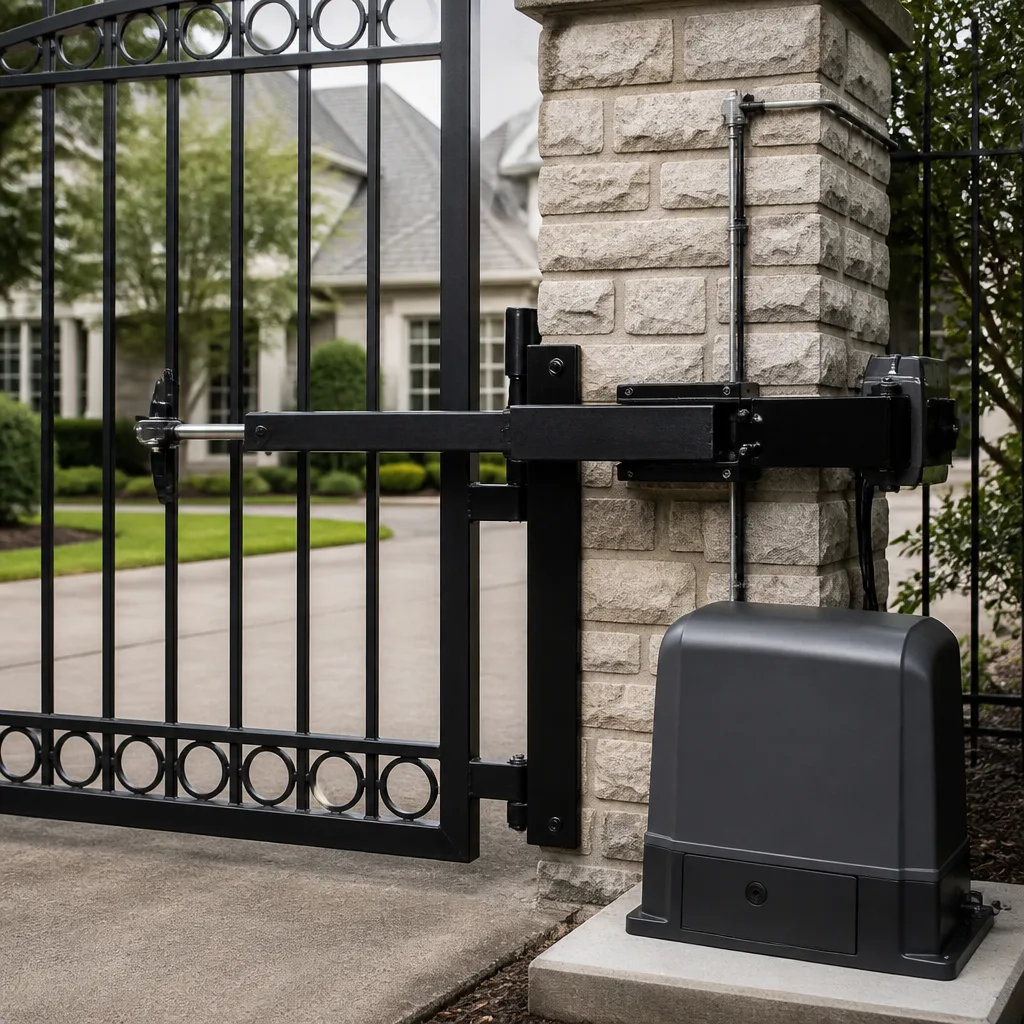
Gate openers in Kennedale run the full range, from the entry-level Mighty Mule units on weekend-home driveways to commercial-grade LiftMaster and FAAC operators on estate properties. Each brand has its own maintenance profile, and knowing what yours needs is part of the checklist.
What to Check on Any Opener, Regardless of Brand
- Force adjustment. The opener should move the gate without straining. If it has to push through resistance, that resistance is a mechanical problem the opener is compensating for, and the motor will die early.
- Limit switches. The gate should stop exactly at its fully open and fully closed positions. A gate that bounces back from the closed limit is either binding or the limit is set wrong.
- Manual release. Test the release once a season. A release that is seized when you need it during a power outage turns a minor inconvenience into a gate you cannot open.
- Chain or belt tension on slide gates. Too tight destroys bearings. Too loose lets the chain slap the guard and snap a link. The tension should deflect about a quarter inch under light finger pressure.
Brand-Specific Notes for Kennedale Homes
We service nine opener brands, and each has its own quirks. Mighty Mule openers are common on residential driveway gates in our area, and their control boards are sensitive to lightning strikes on the power line. LiftMaster operators are workhorses, but we see capacitor failures on units older than five years in the summer heat. FAAC and BFT are both Italian-built and highly reliable, though parts lead times run longer, so we recommend proactive maintenance rather than waiting for a failure.
Whatever brand is mounted on your gate post, the best maintenance you can do for the opener is keeping the gate itself moving freely. The opener is the symptom, never the disease.
Electrical Connections, Underground Wiring, and Battery Backup
Electrical problems on Kennedale gates break down into three categories: wiring to the opener, connections inside the opener housing, and the battery backup system if your gate has one. Each has a checklist.
Connection and Wiring Checks
- Open the operator cover and look for signs of overheating. Discolored wire insulation, a burnt smell, or melted wire nuts mean a loose connection is arcing and generating heat.
- Tighten every terminal screw. Vibration from gate operation loosens terminal connections over time. A loose neutral can cause intermittent failures that are maddening to troubleshoot.
- Inspect underground wiring runs where they exit the ground. Weed trimmers and lawn equipment frequently nick the jacket on the low-voltage wire at the post base. Once water gets in, corrosion follows, and the gate starts failing on random days.
- Check the battery backup terminals for corrosion. Batteries on gate openers last three to five years and fail most often in the second summer of their life. If your battery is four years old in Kennedale, replace it before you need it.
- Verify the surge protection is present. North Texas gets real lightning. Without a surge suppressor on the operator circuit, one storm near the house can cook the control board.
If your gate loses function after every hard rain or storm, the problem is almost always water infiltration somewhere in the electrical path, not the board itself. Start at the wire exits and work in from there.
Photo Eyes, Safety Edges, and Obstruction Detection
Safety devices are the parts of a gate system most homeowners ignore until they fail, and they are the parts that protect children, pets, and delivery drivers. A gate without working obstruction detection is a liability on a Kennedale property. The checklist here takes about five minutes with a helper.
Testing Safety Devices on a Driveway Gate
- Photo eyes: break the beam while the gate is closing. The gate should stop immediately and reverse. Test both directions, and wipe the photo eye lenses with a dry cloth if they are dusty.
- Safety edge on the leading gate edge. Press the edge strip with your hand while the gate closes. It should reverse on contact. Faded or cracked edge strips need replacement even if they still trigger.
- Obstruction sensitivity. Set a traffic cone in the gate’s path. The gate should detect the resistance and reverse. If it keeps pushing, the force setting is too high and the opener will damage itself and anything in the way.
- Audible alarm, if equipped. Some operators beep during travel. If yours has stopped beeping but used to, note it in your maintenance log.
Safety edges on Kennedale gates dry out and crack in the heat faster than in cooler climates. A cracked edge lets moisture reach the internal switch and short it out, which usually fails safe, but also fails the gate. Replace cracked edge strips as soon as you see them.
Ground Track, Wheels, and the Concrete Apron
Sliding gates and rolling gates need their track and wheel assemblies checked as rigorously as the motor. This is also where Kennedale’s soil movement shows up most visibly. A concrete apron that settles creates a low spot in the track, and the gate will labor through that spot on every cycle until either the wheel or the opener quits.
Track and Wheel Checklist
- Clean the track. Gravel, dirt, acorns, and grass clippings pack into the track and derail gates. Sweep the full length monthly during the spring and fall.
- Check track level with a straightedge. A dip of more than a quarter inch over an eight-foot span means the concrete has settled and the gate is working uphill through that section.
- Inspect wheel treads. Flat spots, cracked wheels, or wheels that have frozen onto their axles all need replacement. A frozen wheel is not rolling anymore, it is dragging.
- Verify the track bolts are tight. Anchor bolts holding the track to the concrete loosen with vibration. A loose track section will drift sideways and derail the gate.
- Check wheel bearing grease. Most gate wheels have sealed bearings, but if yours have zerks, a shot of grease twice a year keeps them spinning.
We see more track-related failures on gates near Kennedale’s older neighborhoods where the concrete was poured without rebar, thirty or forty years ago. That concrete has finished settling by now, but the original track was installed for a gate half the current weight.
A Seasonal Tune-Up Checklist for Kennedale Gates
Twice a year, run through this full list. It takes a homeowner about 45 minutes the first time and 20 minutes once you know your gate. Or call Ironworks Gate Co. and we will do the whole thing as part of our $89 Seasonal Tune-Up.
Spring (April, before summer heat)
- Lubricate hinges, pivot points, and wheel bearings
- Test the manual release for smooth operation
- Check and clean photo eye lenses
- Verify the gate position aligns with the latch
- Inspect battery backup health if installed
- Clear spring debris from the track
Fall (October, after summer heat)
- Inspect for heat damage on the control board and capacitor
- Check for new rust spots on welds and touch up paint
- Tighten all mounting and track bolts
- Test obstruction detection and safety edges
- Clean leaves and acorns from the track and wheel wells
- Schedule any pending hinge or roller replacement before winter
The fall inspection is the important one for Kennedale. The summer heat does the damage, and October is when you find it and fix it before the cold makes the materials brittle.
Common Mistakes to Avoid
These are the mistakes we see repeated across Kennedale driveways, and most of them are made in good faith by homeowners trying to save a service call. Each one ends up costing more than the service call would have.
- Using WD-40 as a hinge lubricant. It is a solvent, not a lubricant. It strips the old grease and leaves the hinge with less protection than it had before you sprayed it.
- Adjusting the opener force limit instead of fixing the binding gate. Crank up the force on a gate that is fighting itself, and the opener will win the battle for a few weeks and then burn out the motor. Fix the gate, not the setting.
- Painting over rust without treating it first. Paint seals rust in, and the rust keeps eating the metal underneath. Wire-brush it, treat it, then paint it.
- Ignoring a slow gate. A gate that has slowed down 10 percent is telling you something is wrong. Waiting until it stops altogether turns a hinge repair into an opener replacement.
- Welding a cracked hinge back without replacing the pin. Re-welding a cracked hinge on a heavy Kennedale gate without addressing the worn pin just moves the stress point to another weld. The new crack will be somewhere more expensive to fix.
- Treating all openers the same. A Mighty Mule is not a LiftMaster, and a DIY adjustment guide written for one brand can damage the other. Know what you have before you adjust anything.
- Deferring battery replacement. Batteries are the cheapest component on a gate system and the one that leaves homeowners stranded most often when ignored past their lifespan.
When to Call a Professional
Some parts of gate repair are safe and reasonable for a homeowner. Replacing a control board, re-hanging a heavy gate leaf, welding cracks, adjusting an opener’s internal force settings, or diagnosing an intermittent electrical failure are not. These tasks require specialized tools, calibration equipment, or the experience to recognize what normal looks like on a healthy gate.
If your gate has sagged more than an inch, if you hear metal-on-metal grinding, if the opener stops at random positions, or if anything in the electrical system looks burned or melted, call a professional. Ironworks Gate Co. offers free estimates in Kennedale, and we cover every part of the system from the hinges to the keypad. Call (817) 286-7391 and a live person will answer, any hour, any day.
Frequently Asked Questions
Twice a year is the right cadence for Kennedale’s climate. Once in April before the summer heat puts stress on electrical components and welds, and once in October to find heat damage before the cold makes it worse. A homeowner can do the visual and lubrication work on this schedule, and we recommend a professional tune-up once a year as a deeper check of the opener calibration, safety devices, and electrical connections.
Gate repair in Kennedale falls into ranges. Basic hinge lubrication and adjustment runs $89 to $150. Hinge replacement with welding runs $200 to $450 per hinge depending on gate weight. Opener control board replacement typically runs $300 to $600 including parts and labor. Full opener replacement can range from $900 to $2,800 depending on brand and gate type. Every job with Ironworks Gate Co. is priced upfront before work starts, and we back it with our 90-Day Done Right Promise in writing. Call (817) 286-7391 for an exact quote on your gate, and current customers tell us our $50 Off Any Repair Over $250 offer helps make the first repair easier.
Yes. Most gate repairs in Kennedale are completed on the first visit. We stock common parts for the nine opener brands we service, including LiftMaster, FAAC, BFT, and Mighty Mule, so we usually have the part on the truck. When a gate is stuck open or stuck closed, we make those calls a priority. Call (817) 286-7391 and a live person answers, 24/7.
A full gate installation from Ironworks Gate Co. includes measured site assessment, gate fabrication or selection to fit the existing posts or new post setting, hinge and pivot installation, opener mounting and calibration on your chosen brand, wiring for power and any access control, safety device installation and testing, and a final adjustment walkthrough including our 90-Day Done Right Promise. We quote the complete job in writing before any work begins, and Senior and Veteran homeowners always receive 5% off.
We do. Keypads, telephone entry systems, vehicle detectors, and gate access control are all part of the Ironworks Gate Co. scope, and we install, repair, and reprogram them on existing systems. If you are not sure whether the problem is the keypad, the wiring, or the opener board, call us and we will diagnose it without selling you a system you do not need.
In our experience in Kennedale, a gate is worth repairing if the frame is straight, the welds are mostly intact, and the opener is less than ten years old. If the frame has rusted through in multiple places, the hinges have been replaced more than once, and the opener is over fifteen years old, replacement often costs less over the next five years than continued repairs. We will give you an honest assessment on either path. Our free second opinion on any written estimate will tell you whether a repair quote from another company is fair or whether you are putting money into a gate that has earned its retirement.
The Bottom Line
A Kennedale gate is a steel and motor system sitting in hundred-degree heat, on shifting clay soil, driving thousands of cycles a year. It will need maintenance, and the maintenance beats the repair bill every time. Work the checklist twice a year. Lubricate the hinges before they seize. Test the safety devices before they are needed. Replace the battery before the storm. And when something needs fixing, get it fixed the first time and get the guarantee in writing.
Written by Victor Salinas, Owner at Ironworks Gate Co., serving Kennedale since 2013.